
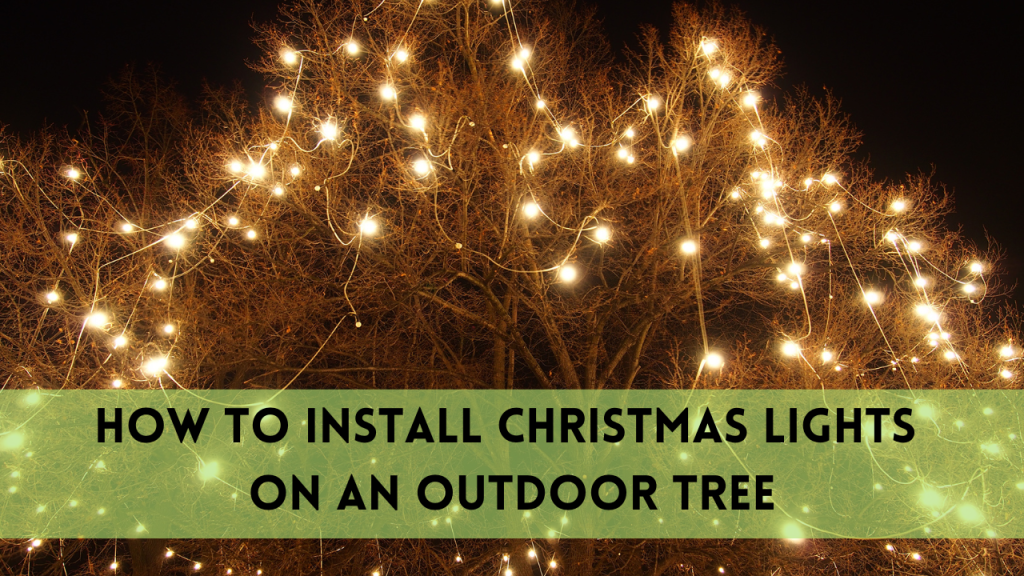
The holiday season is upon us, and it’s time to transform your yard into a winter wonderland with glowing outdoor trees. There’s something magical about twinkling Christmas lights adorning the trees in your yard. But, installing these lights requires careful planning and a keen eye for safety, especially if you want to avoid accidents or tree damage. This blog post will guide you on how to install Christmas lights on an outdoor tree safely, ensuring a stunning display that won’t compromise on safety or the health of your trees.
Table of Contents
Essential Preparation and Tools
Before embarking on the mission of lighting up your outdoor tree, preparing adequately with the right tools and knowledge can make the entire process smoother and safer.
Tools Needed
To get started, ensure you have the following on hand:
- String lights (opt for outdoor-rated LED lights for efficiency).
- Extension cords.
- A sturdy ladder.
- Measuring tape or a yardstick.
- Zip ties or twist ties for securing the lights.
LED lights are a smart choice. They’re more energy-efficient, durable, and provide bright illumination, which is perfect for making your trees stand out during festive nights.
Safety Measures
As you prepare, prioritize safety. Make sure your ladder is stable before climbing, and always ensure you have an easy path to descend. Wrap the wires loosely so that they can accommodate tree growth and expansion due to weather changes. This is particularly important in Houston’s humid climate, where temperatures can fluctuate significantly.
Power Source Planning
The right power setup can significantly reduce risks:
- Use outdoor-rated extension cords strategically positioned near the tree base.
- Secure cords to prevent tripping hazards or damage from weather and foot traffic.
Incorporating a Ground Fault Circuit Interrupter (GFCI) is also essential to protect against electrical faults.
Step-by-Step Installation Process
Once your groundwork is laid, it’s time to get hands-on with the installation process. Here’s how to install Christmas lights on an outdoor tree step by step:
Marking the Tree
First, measure your tree and mark guide points every 3 inches on the trunk with a marker. These marks will help ensure consistent spacing of light wraps around the trunk.
Starting Point for Wrapping Lights
Begin wrapping about 1 inch above the ground to keep away from moisture. Start at the trunk and wind the lights firmly enough to stay in place without cutting into the bark. Continue winding lights around the branches; spacing the wraps twice as far apart as on the trunk ensures a neat, uniform look.
Layering and Coverage Techniques
Start lighting from the bottom, moving upwards to the top. Conceal plugs among the branches for a polished finish. Using this bottom-up technique not only ensures even lighting but also prevents choking off power as you add additional strings.
Securing Lights
Finally, secure the lights using zip ties or twist ties. Avoid using staples or nails which can damage both the tree and the light wires.

Choosing the Right Lights and Quantity
Selecting the appropriate lights and estimating the required quantity is key to achieving your desired effect.
Types of Lights
LED string lights are particularly suitable for outdoor trees due to their brightness, energy efficiency, and durability. Ensure they are outdoor-rated and have waterproof casings to withstand the elements.
Estimating Light Quantity
A simple guideline is to use about 100 lights per vertical foot of the tree for dense coverage. For example, a 15-foot tree would ideally require at least 1,500 lights for full coverage.
| Tree Height (ft) | Lights Needed (for dense coverage) |
|---|---|
| 5 | 500 |
| 10 | 1,000 |
| 15 | 1,500 |
Light Spacing
Position your lights 2 to 4 inches from the tree surface to ensure optimal brightness and distribution without causing hotspots or overheating.
Managing Power and Safety Considerations
Electricity management and weatherproofing are crucial for the long-lasting and safe operation of your lights.
Power Setup
Locate the nearest outdoor power outlet and use GFCI-equipped extension cords to connect your lights. Be mindful not to overload circuits by sticking to the manufacturer’s maximum strand recommendations (usually 3-5 linked).
Weatherproofing Your Setup
Use weatherproof connectors and elevate plugs off the ground to prevent water ingress. Running power cables through protective tubing is advisable for additional protection.
When to Seek Professional Help
For complicated or extremely tall trees, consider hiring professionals like Cincoranch Arborist, who offer expert tree services in Houston. They can safely handle installations for complex scenarios, ensuring not just safety but also a meticulously decorated tree.
Conclusion
Lighting up your outdoor tree can truly amplify the warmth and festivity of the holiday season. By following this guide on how to install Christmas lights on an outdoor tree, you can enjoy a brilliantly-lit tree and peace of mind knowing you’ve prioritized safety. Remember, if you’re looking for the perfect blend of safety and spectacular display, reaching out to experts like Cincoranch Arborist is a great choice.
Are you ready to transform your outdoor space this Christmas? Trust the experts at Cincoranch Arborist to light up your trees with perfection and care. Contact us to make your holiday season shine brilliantly and safely.